NoBox Web Installation
Visit the NoBox website and log in using your account; ensure you already have a registered account. Select the [Subscription] menu, download the installer that matches your computer's operating system.

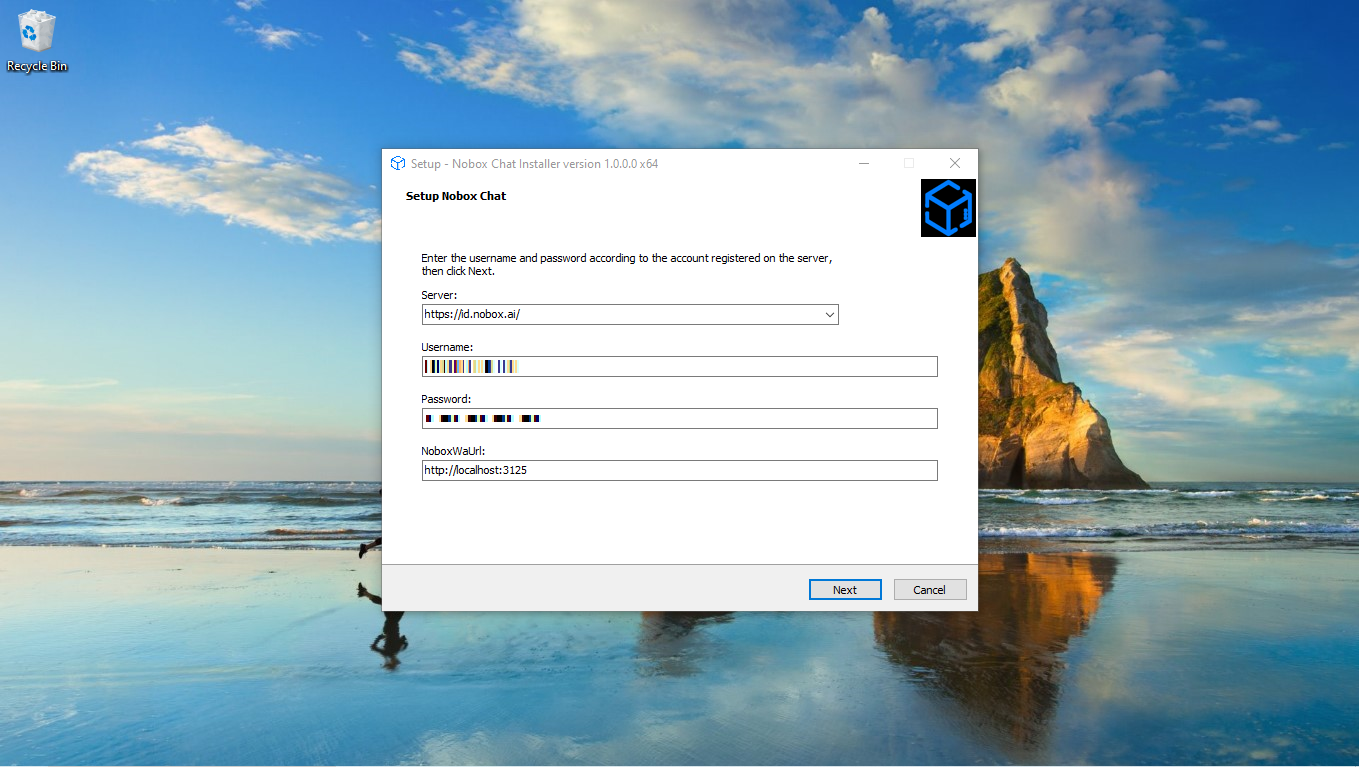
Run the NoBox installer that you have downloaded. Select the server you wish to use, then enter the username and password associated with your registered account on the NoBox website. Next, follow the installation steps.
If the installation is successful, two folders will appear in the location you chose: NoboxChatManager and NoboxChatSession.
Nobox Chat Manager
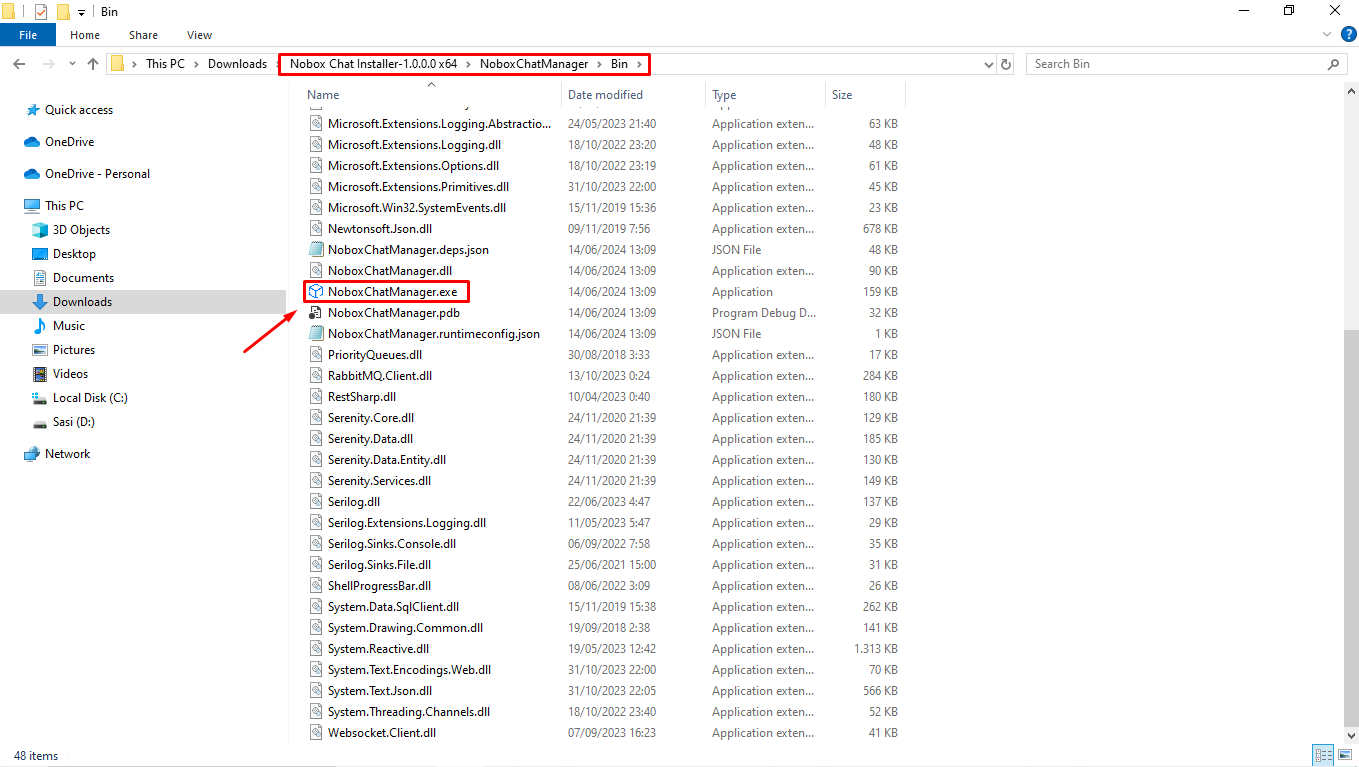
Used to integrate web chat, social media, and instant messaging into an automation account to facilitate managing customer interactions and business prospects. To operate the NoBox Chat Manager application, follow these steps:
- First, open the folder where you installed the NoBox application. This folder is usually located in the location you selected during installation.
- Navigate to the NoboxChatManager folder, open the folder named [Bin], and run the NoboxChatManager.exe file.
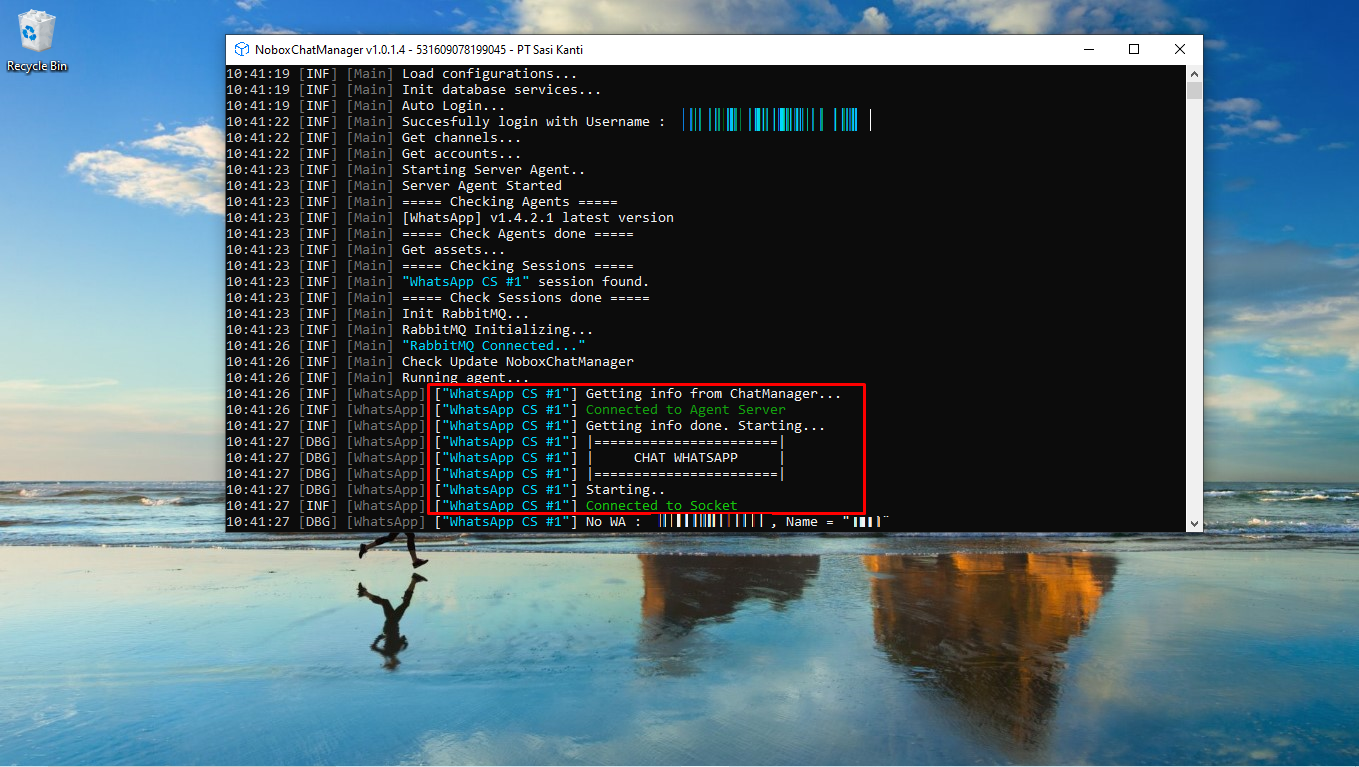
Try creating an account and ensure that it is successfully connected by checking in the NoboxChatManager if there is information indicating an Agent is running.
If you don't yet understand the basic steps for creating an account, you can follow this guide:
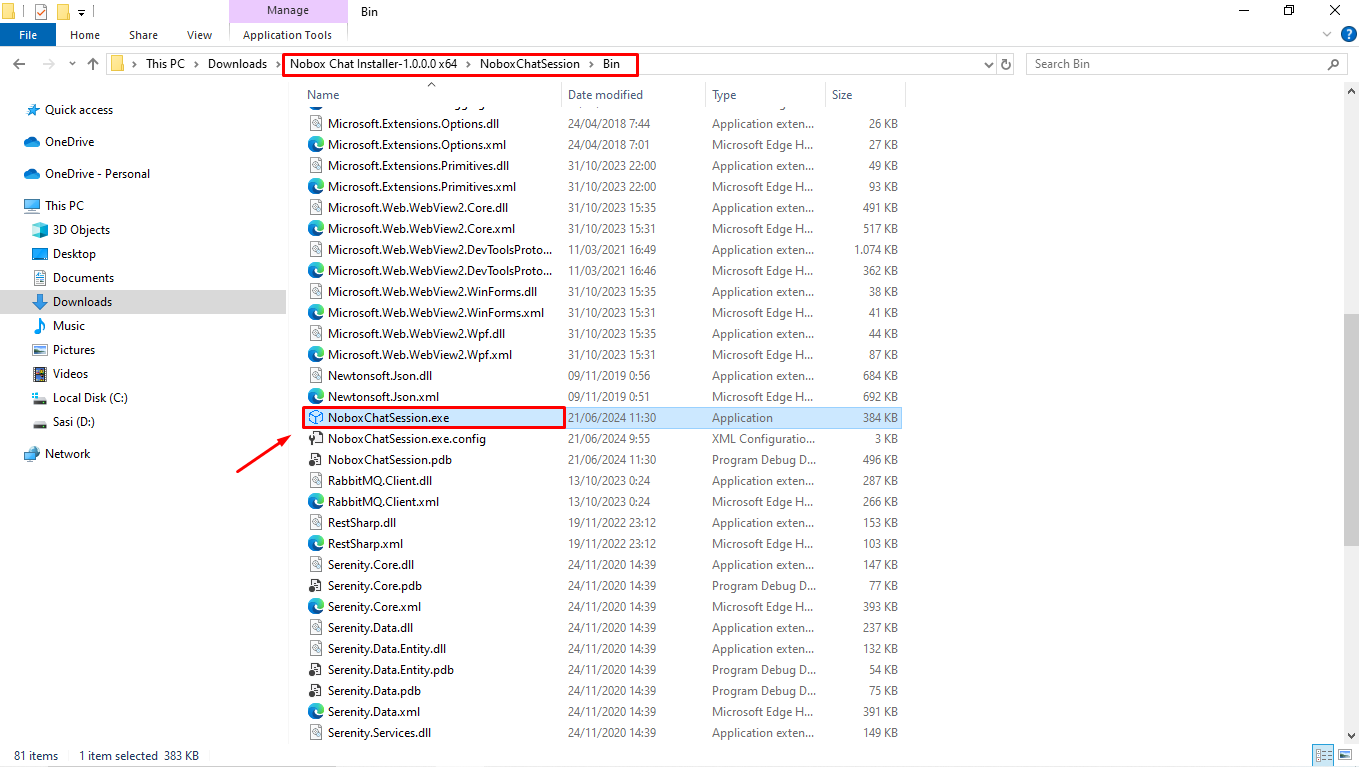
Nobox Chat Session
Used for managing account login processes for applications such as Tokopedia, Telegram, Shopee, and others.
- First, open the folder where you installed the NoBox application. This folder is usually located in the location you chose during installation.
- Navigate to the NoboxChatSession folder, open the [Bin] directory, and run the NoboxChatSession.exe file.