Custom Fields
Special Input is a feature in Nobox.Ai that allows you to add custom columns according to your needs.
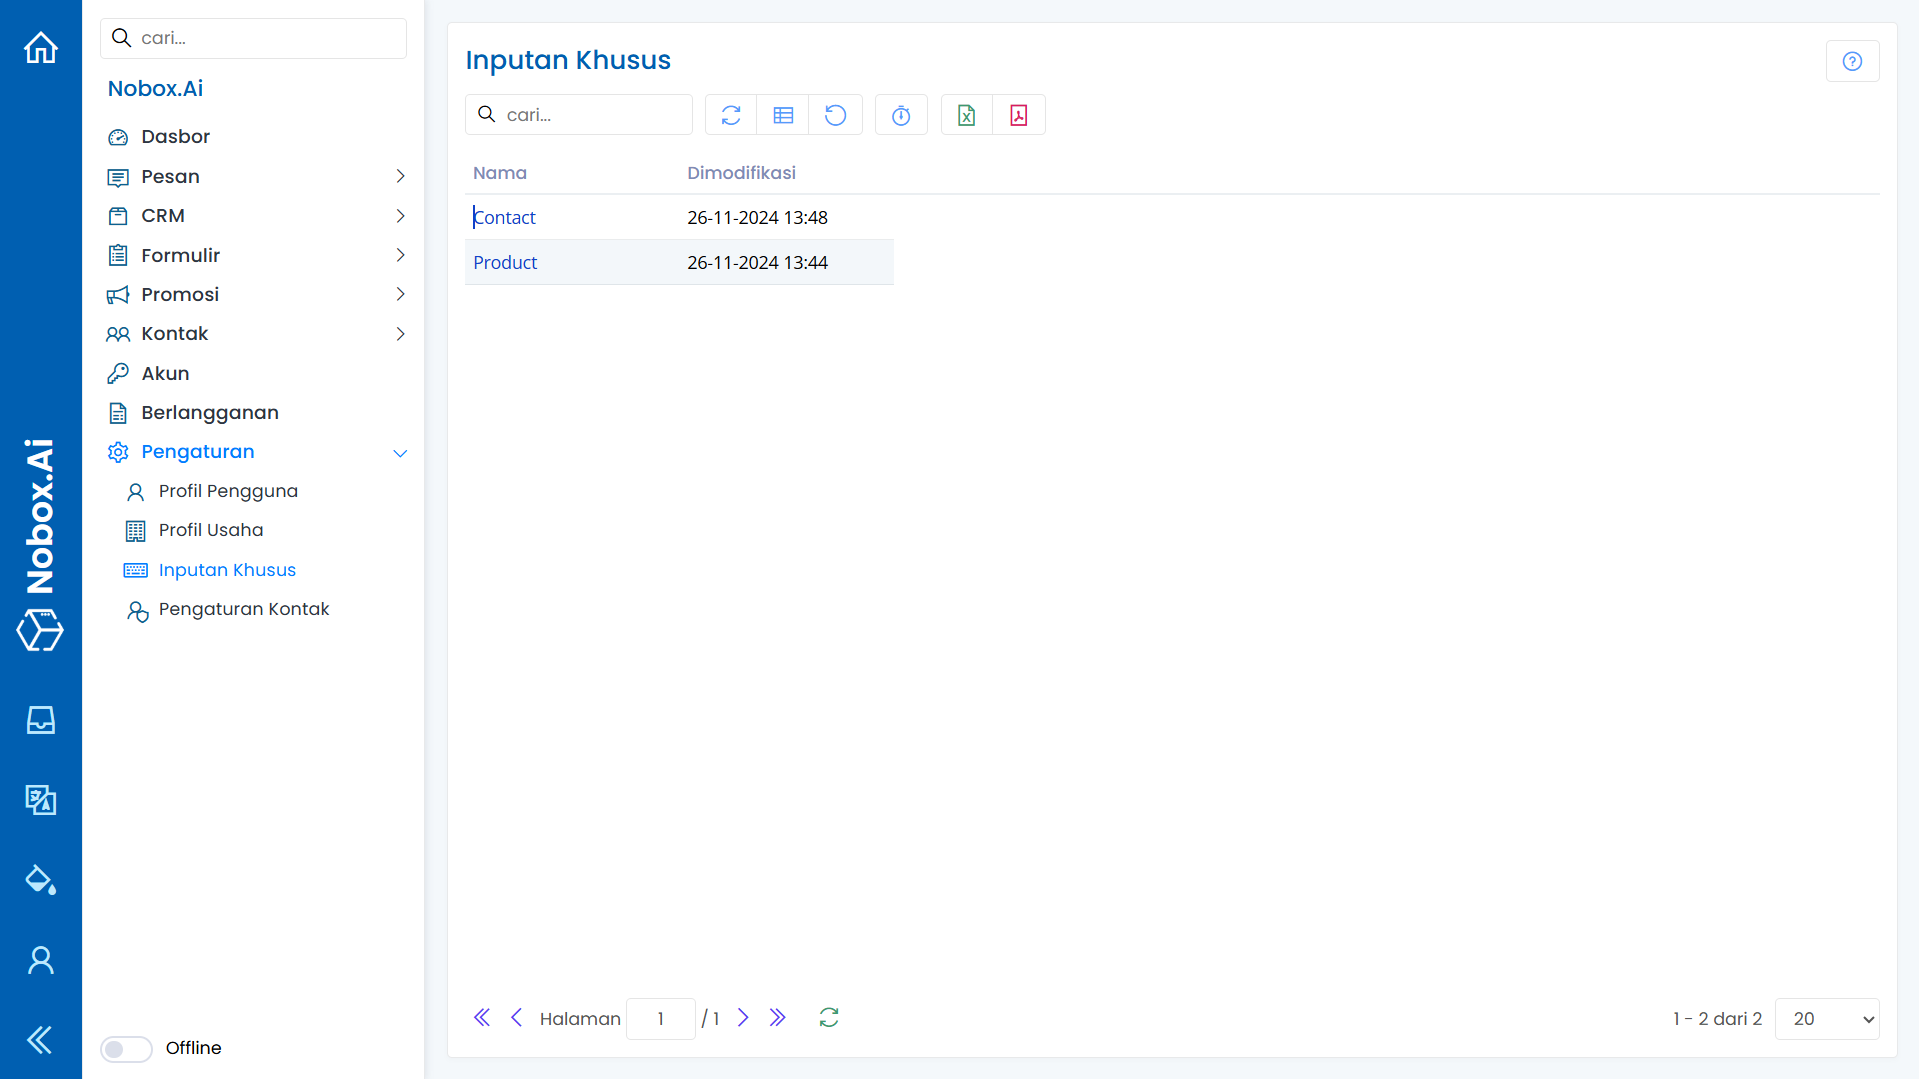
Add Custom Input
To create custom input data, click on the [Custom Input] menu, select the contact or product as needed, then click [Add Custom Input].
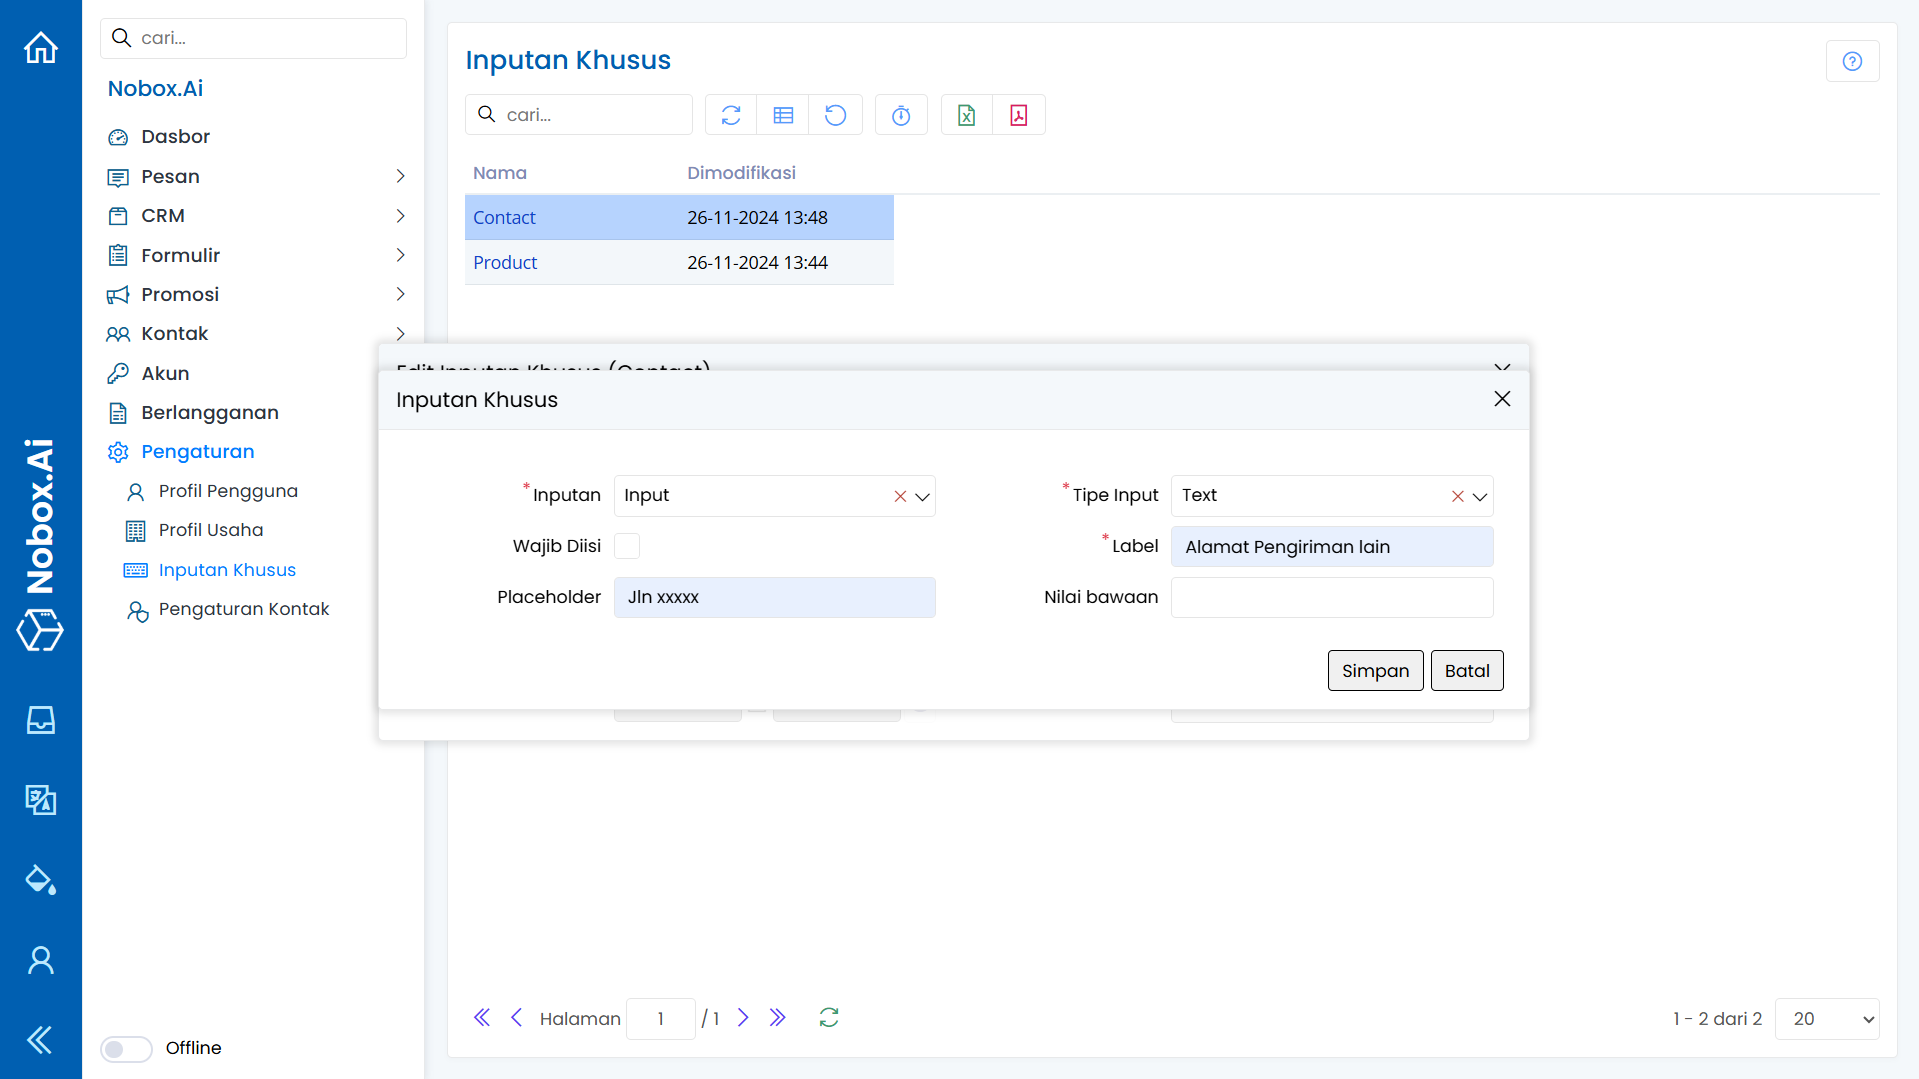
Complete the information contained in the dialogue:
| Field | Description | Example |
|---|---|---|
| Input | Choose input | Input |
| Input Type | Select input type | Number |
| Required | Required field | - |
| Label | Column title | Other Number |
| Placeholder | Input hint | 62xxxxxx |
| Default Value | Default value | - |
Once you have completed all the fields, click [Save] to store the newly created custom input data.
Edit and Delete Custom Input Data
To edit a specific custom input data, first select the data you want to edit. Edit your data and click [Save] to save the changes. To delete a specific custom input data, select the data you want to delete, then click [Delete], and a confirmation dialog will appear asking if you want to delete the data. If yes, click [Yes], otherwise click [No].
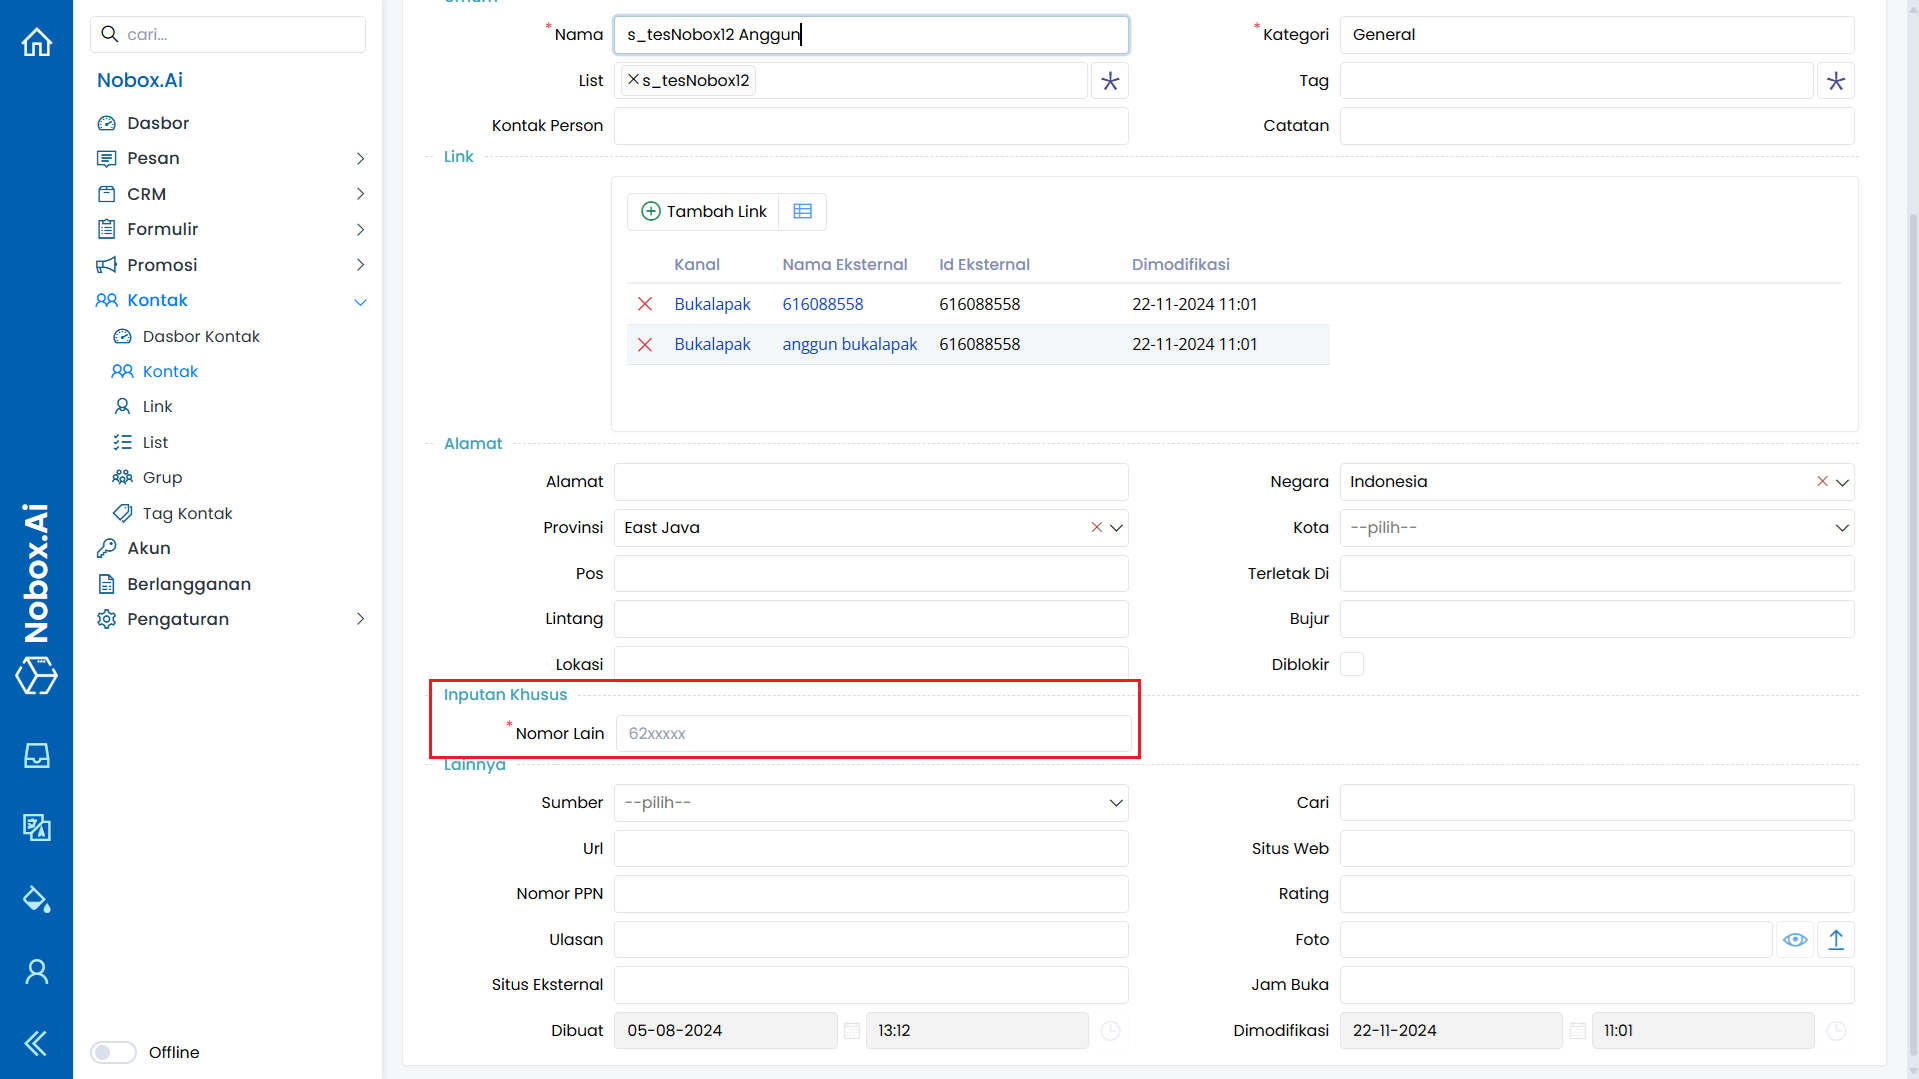
How to Use Custom Input
- Open the [Contact] menu, select an existing contact or create a new one.
- In the custom input section, previously created data will be displayed.
- Fill in the data if necessary and click [Save] to save the contact data.
If you have any issues or difficulties related to Nobox.Ai, please contact us through Support Ticket