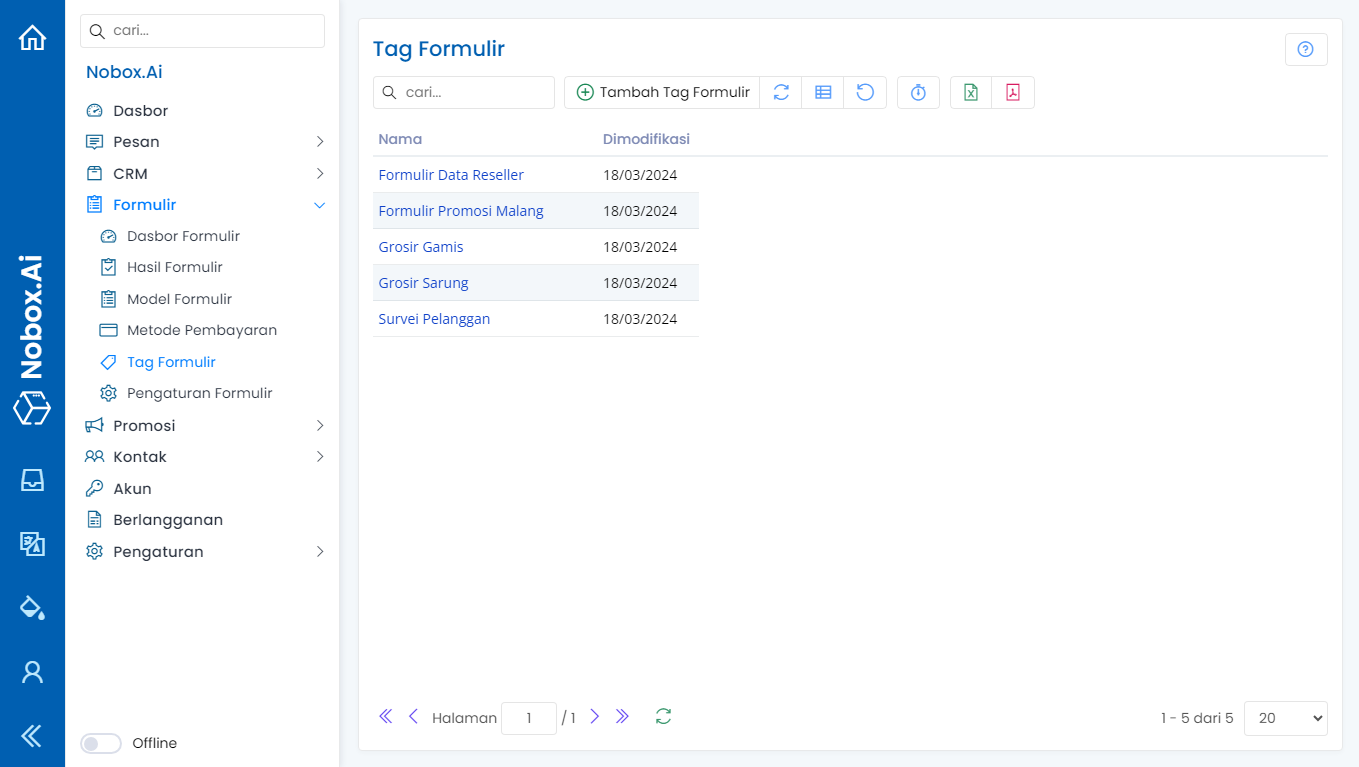
Form Tags
The Form Tag is a feature in NoBox used to categorize your form data.
New Form Tag
To create a tag data, please click on [Form Tag] ➔ [New Form Tag]. A dialog box [New Form Tag] will appear, then enter the tag name in the dialog.
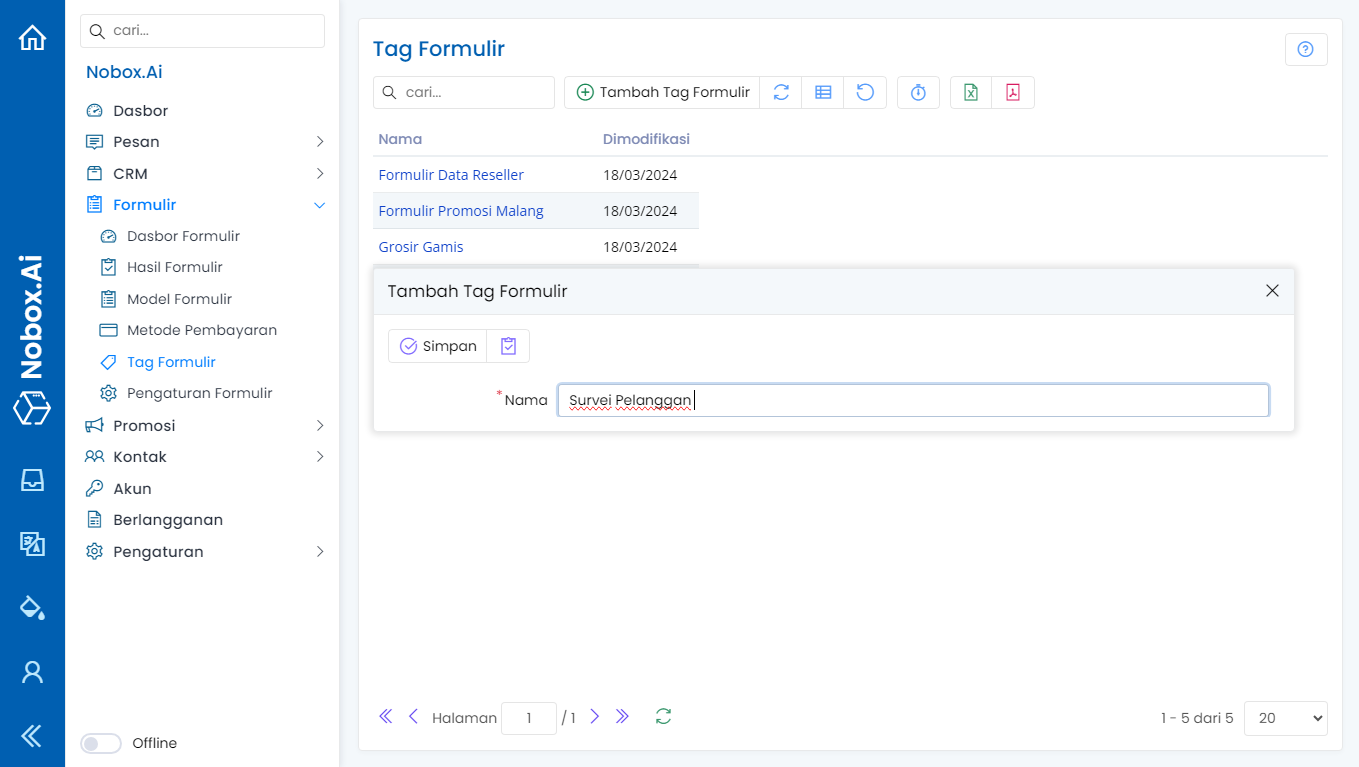
Once you have completed the tag name above, click [Save] to save the newly created tag data. Add any other required tag data.
Edit and Delete Tag Data
To edit a tag data, first select the data you want to edit. Make your changes and click [Save] to save them.
To delete a tag data, select the data you want to delete and click [Delete]. A confirmation dialog will appear asking if you want to delete the data. Click [Yes] to confirm or [No] to cancel.
How to Use the Form Tag
- Open the [Form Result] menu and choose one of the form results.
- Click on the field in the Tag column to see tags that were previously created.
.png)
- Select one or more of the tag data and click [Save] to re-save the result data.
You can also use the form tags in the [Form Model] menu by following these steps:
- Open the [Form Model] menu, choose an existing data or add a new model.
- Click on the field in the Tag column, the previously created tags will appear.

- Select one or more of the tag data and click [Save] to save the template data again.
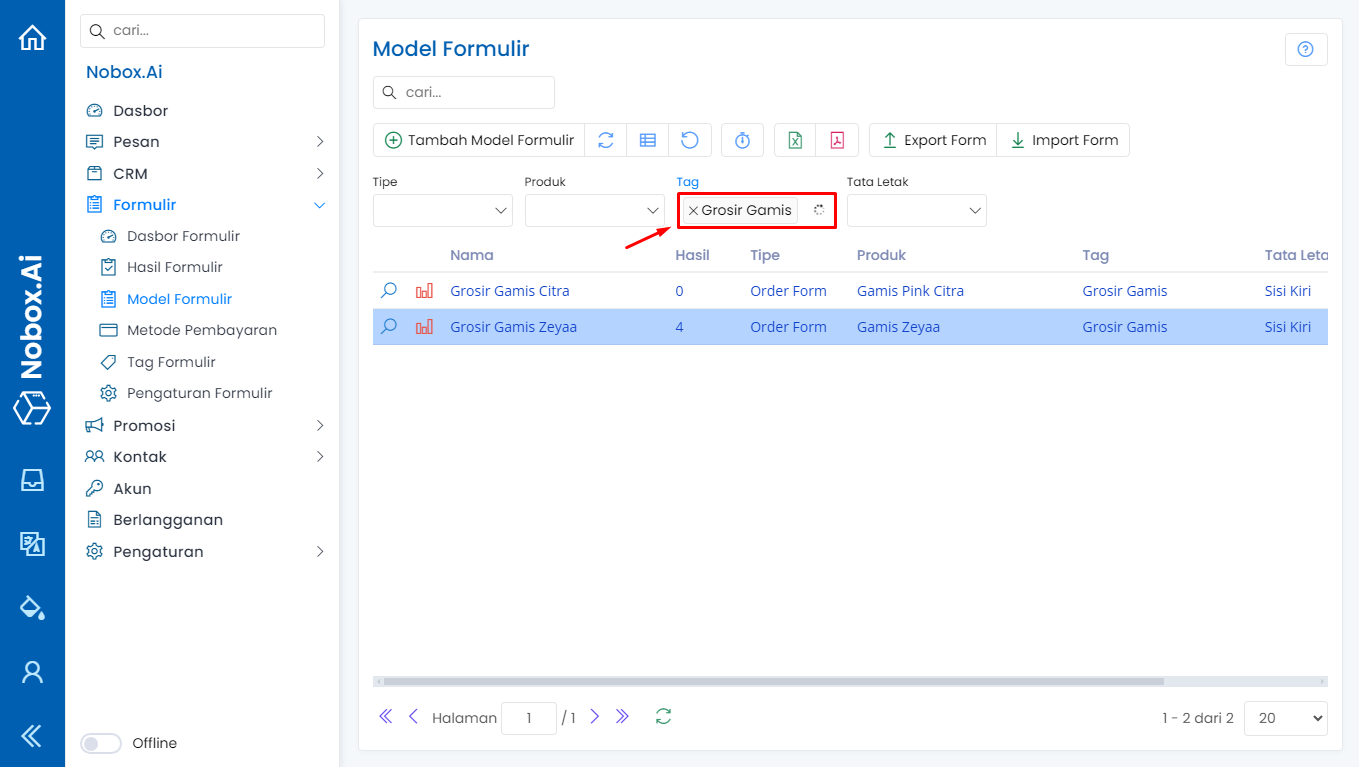
Form Filter Tag
The Form Filter Tag is used to sort form data and display data based on the selected tag. Here's how to filter form data:
- Open the [Form Results] or [Form Model] menu, click on the Tag filter, and select the tag data you want to search for. The filtered data will be displayed.
If you have any issues or difficulties related to Nobox.Ai, please contact us through Support Ticket