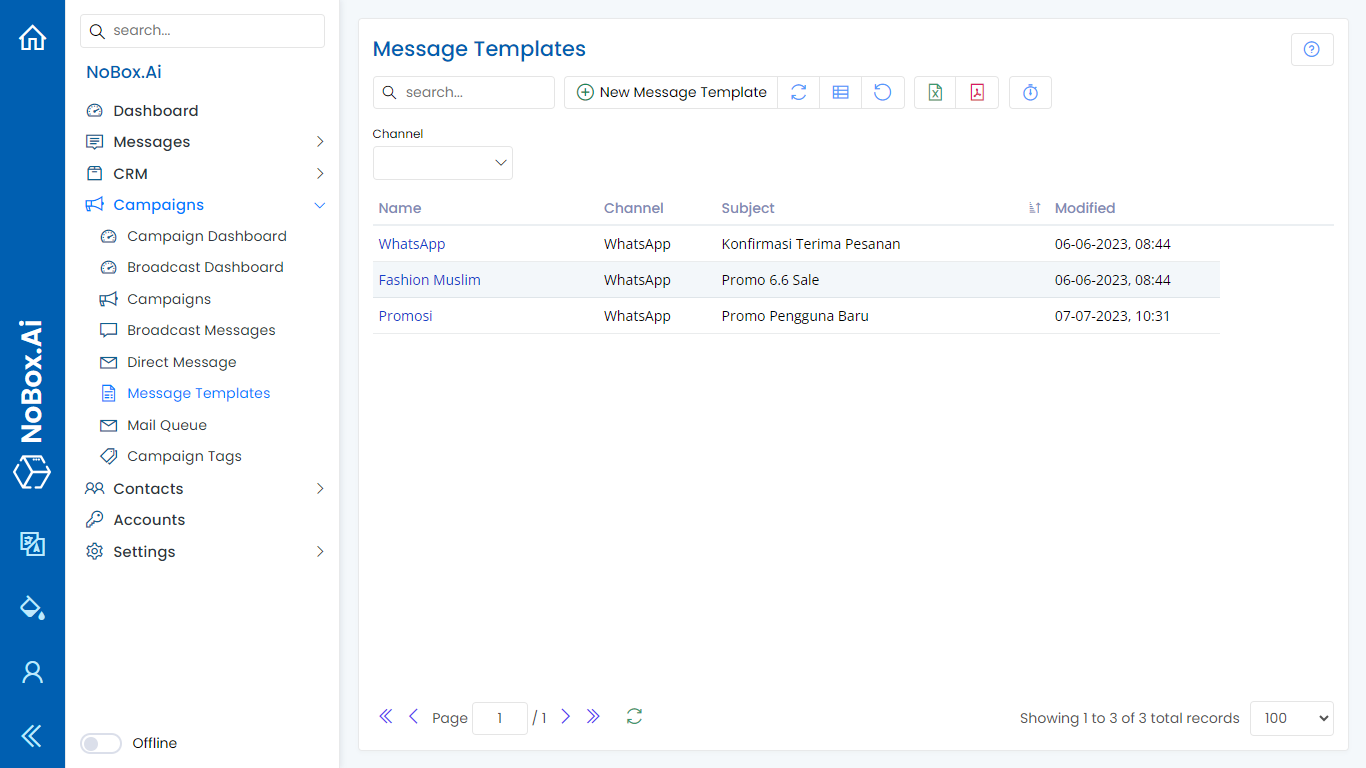
Message Templates
The message model is a feature on Nobox.Ai used to create promotional message models.
New Message Template
To create a message template, click on the [Promotions] module, then select the [Message Template] menu ➔ [Add Message Template]. This will display the [Add Message Template] dialog.
Fill in the required fields, for example as follows:
| Data Entry | Description | Example |
|---|---|---|
| Name | Message template name | Order Confirmation |
| Channel | Select Channel | |
| Subject | Message subject | Confirmation |
| Message Format | Select message format | Text |
| Message | Enter message | Good afternoon, regarding the special Ramadan promotion, our store has prepared abundant stock. Please list the requirements for the store so we can arrange the shipment before the stock runs out. Thank you. |
| Attachment | File attachment | - |
If you have completed filling out the fields, click [Save] to save the newly created message model data.
Edit And Delete Message Template
To edit a message data model, please first select the data you want to edit. Edit your data and click [Save] to save the changes.
To delete a data model message, select the data to be deleted, then click [Delete]. A confirmation dialog will appear. If you wish to delete the data, click [Yes]; if not, click [No].
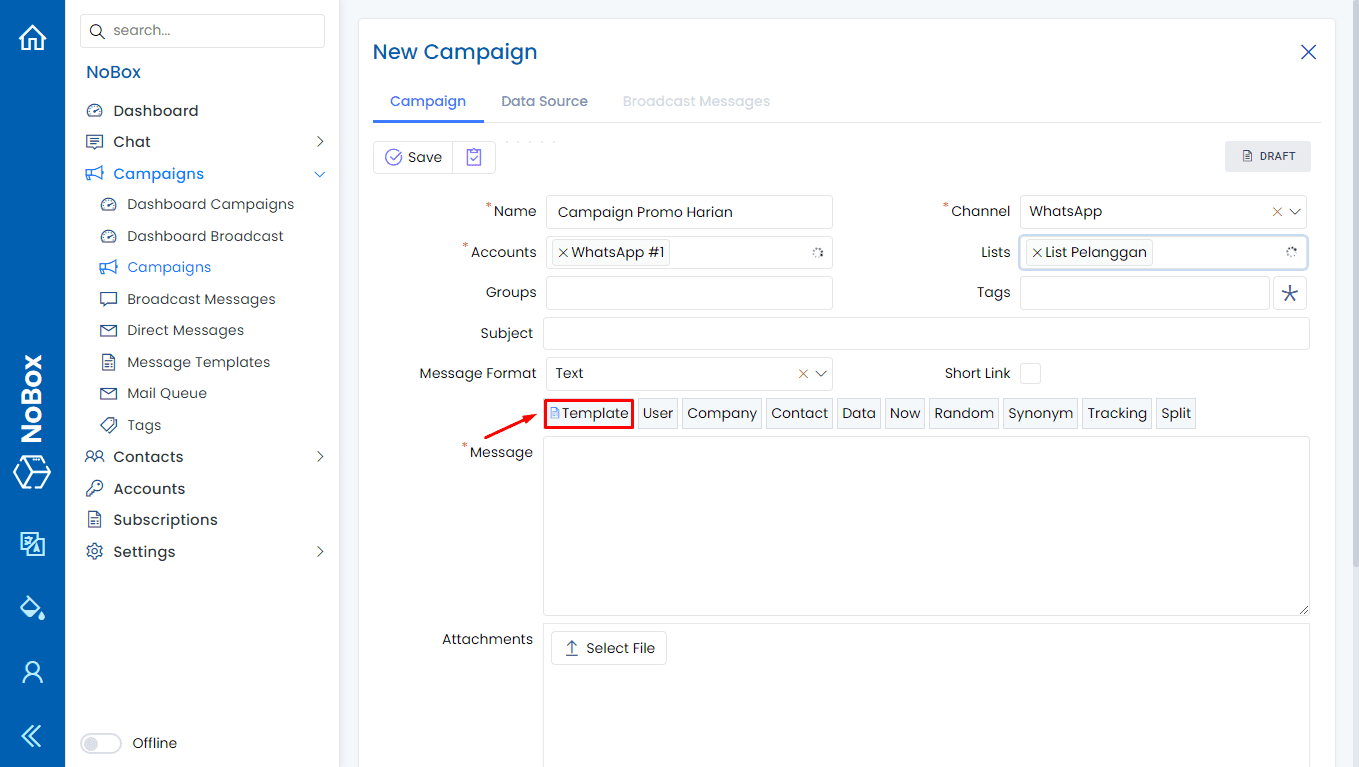
How to Use the Message Template
You can use it by selecting one of the promotions or creating a new promotion, and then click the [Template] button.
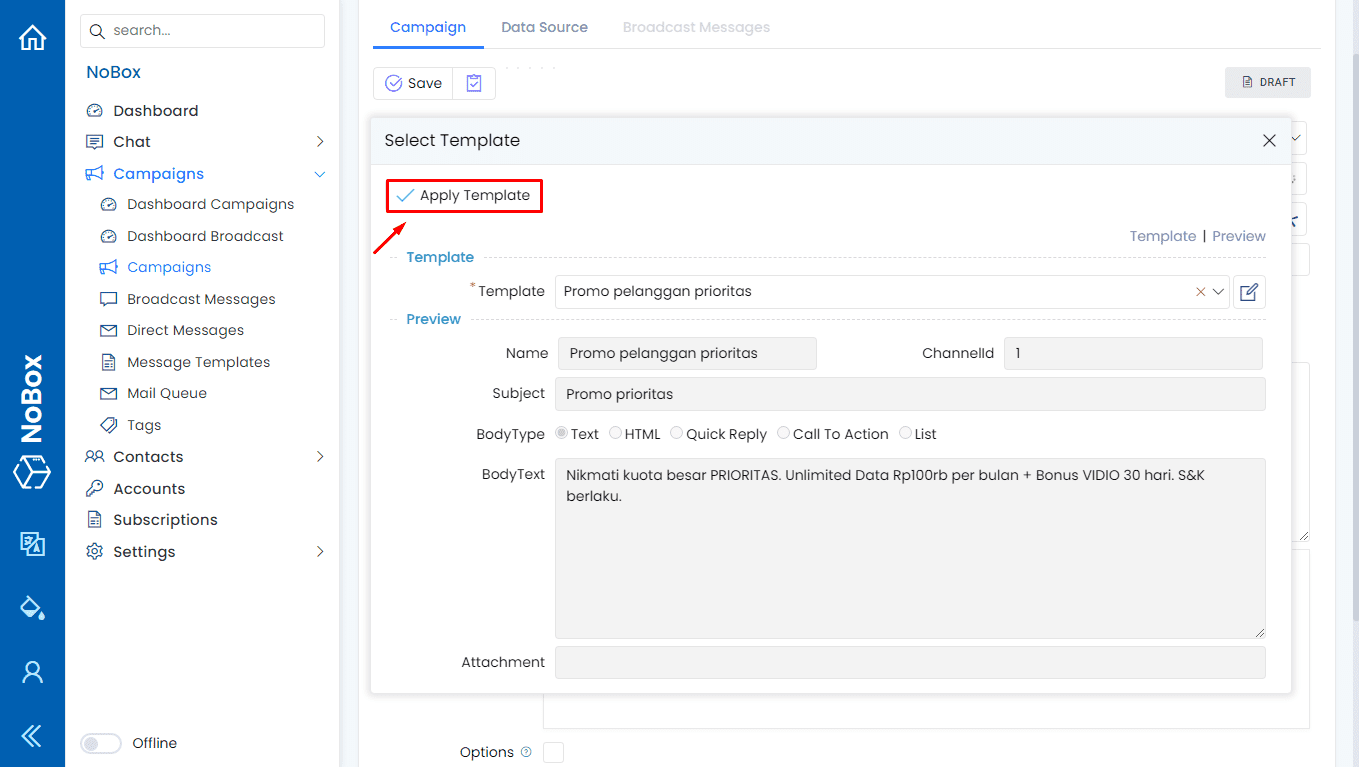
A dialog box [Select Model] will appear. Choose the message model you want to use, then click the [Use Model] button. The fields for subject, message format, message, and attachment will automatically fill in based on the selected model.
If you have any issues or difficulties related to Nobox.Ai, please contact us through Support Ticket